
Five Steps to Repairing and Replacing Brick
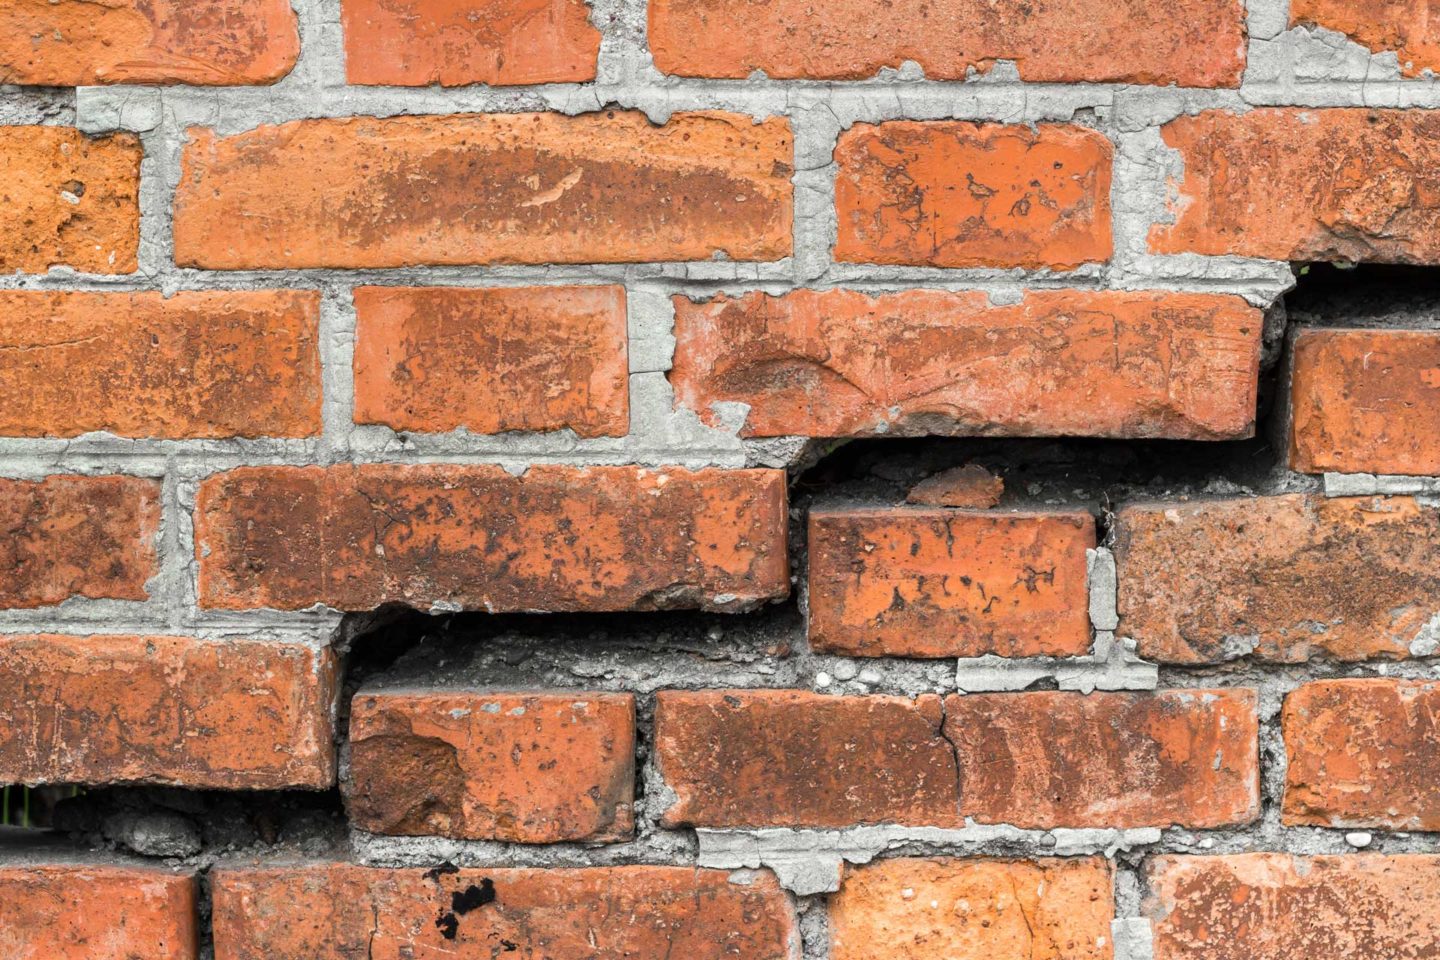
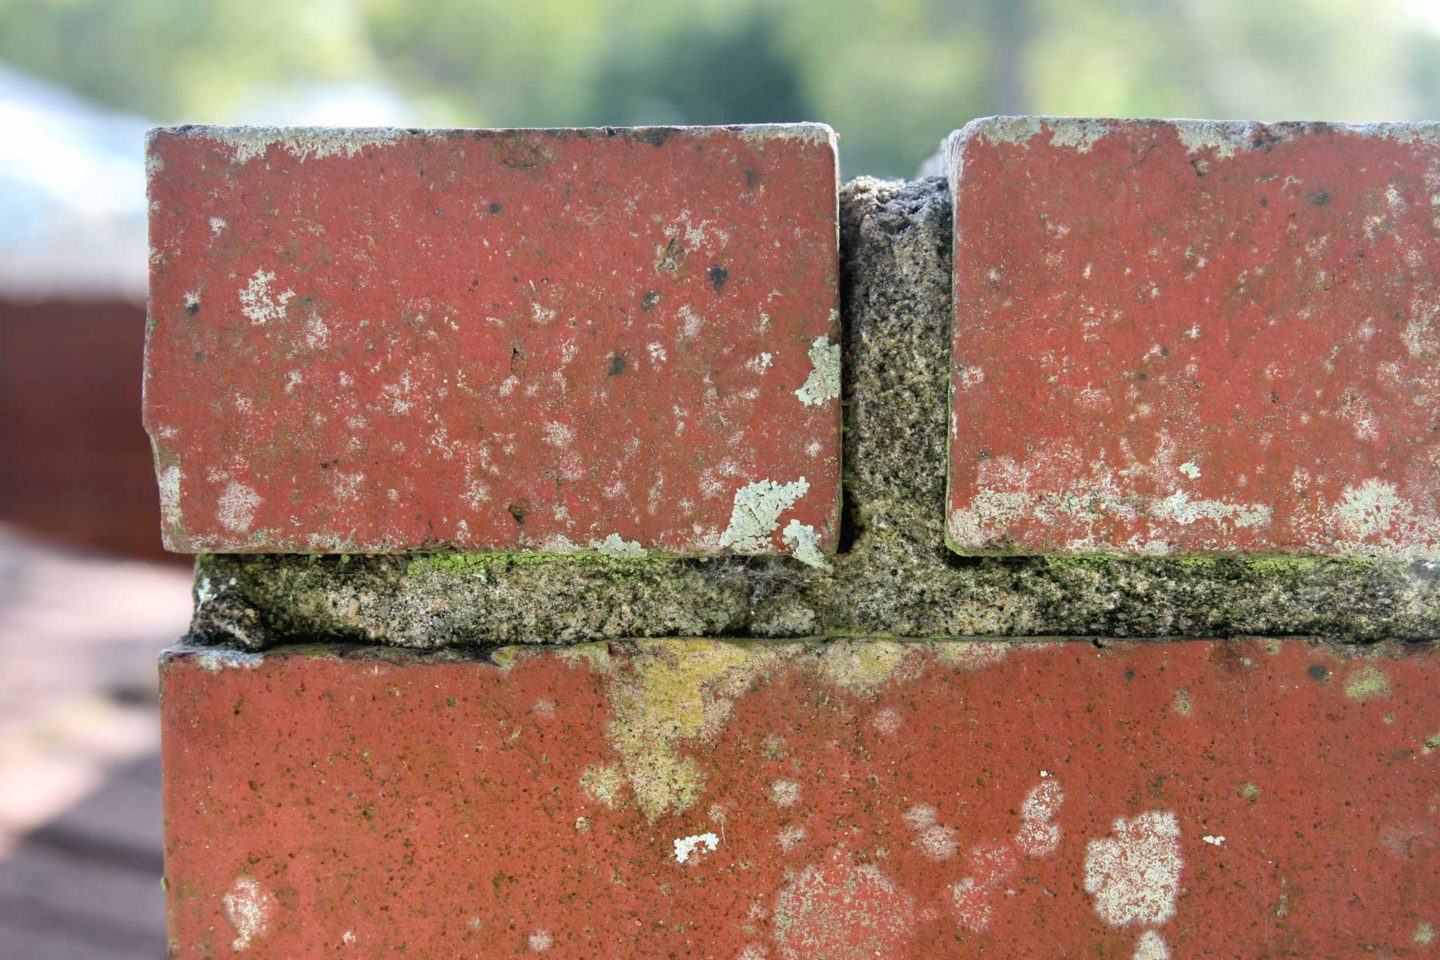
Are you bothered by loose, deteriorating or missing bricks on your wall? Gaps and holes can turn your brick wall into an eyesore. Worse yet, the deterioration will spread and eventually lead to bigger problems. If you have some basic tools and some time, you can repair that brick.
When to Call a Professional
It’s important to note that most homes actually have brick veneer on the walls, not solid brick. If the damage is extensive or it’s on solid brick, you need to contact a professional mason. Repairing solid brick is not a DIY job. Otherwise, for a small repair on brick veneer, carry on as follows.

Five Steps to Repairing and Replacing Brick Veneer
You will need:
- Mortar mix and a bucket.
- Cold chisel
- Hammer.
- Tuck-pointing trowel.
- Regular trowel.
- Brick jointer tool.
- Eye and hand protection.
1. Remove the Old or Crumbling Brick.
- Use a hammer and a chisel to break out the pieces of brick from the wall. Try not to break or dislodge any of the bricks that are still in good shape.
- If you have a power drill and a cutting wheel, using those will make the work quicker.
- You can remove loose bricks by hand, but you’ll need the chisel to clean out any debris.
2. Remove the Old Mortar.
- Use the same tools to remove the old mortar. The replacement brick needs fresh mortar in order to adhere to the structure.
- Remove as much of the old mortar as you can, leaving only a thin layer in the empty spaces.
- Use a wire brush to clean out any leftover dust and dirt.
- Hose down the freshly cleaned spots where you removed the bricks and mortar.
3. Mix the New Mortar.
- You should use a mortar that matches the mortar that’s already there.
- If you can’t find mortar that’s the right color, you might have to add mortar color to the mix.
- Mix the mortar in your bucket. Make sure you’re familiar with the specific brand of mortar and how to mix it. Each mortar type uses a different ratio of water and other additives.
4. Set in the New Brick.
- Begin by applying the mortar to the opening where you’re going to place the brick. The mortar should be about one inch thick.
- Wet the brick before you place it into the freshly mortared opening. You can do this by soaking the brick in a separate bucket filled with water. The brick and the mortar need to be wet to bind together.
- Pick up the brick and push it into place.
- Use the pointing trowel to add more mortar if necessary. If too much mortar has oozed out, use the same tool to remove it.
- Use the jointer tool to get the shape of the grout line that you prefer.
5. Keep Everything Damp.
- It’s important to keep the newly repaired area damp for the next three days.
- Use a hose or sprayer on a mist setting to lightly wet the new bricks and mortar.
- Keep the repaired area damp by spraying it daily for three days.
- Check your handiwork and make any final touch-ups.
Call Us for Professional Masonry Repair
If you’re an experienced home handyman, replacing one or two bricks in your brick veneer is a job that you might be able to handle without much difficulty. If you have a more extensive job or you’re dealing with repairs on a solid brick structure, call Capital Masonry. We provide expert repair of brick and masonry, and we’ll get your brick looking like new again.